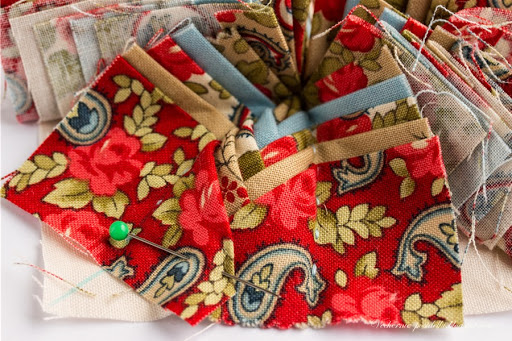
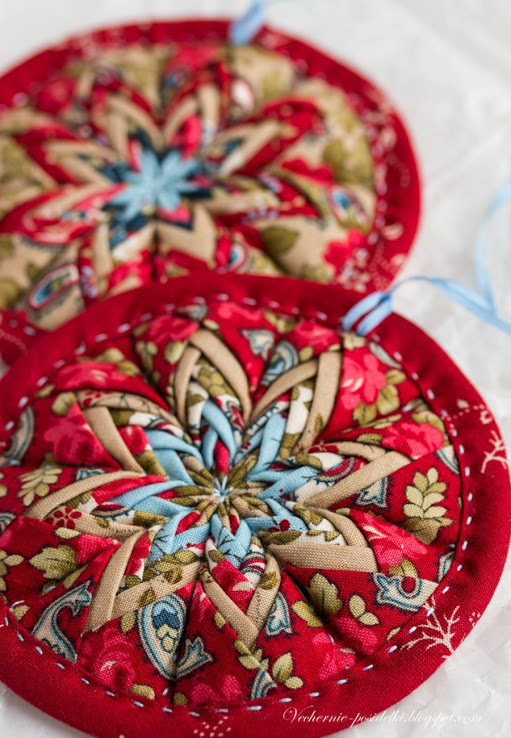
These patchwork flat star ornaments looks like “pancakes” on the Christmas tree! They are in perfect size – only 10cm. Photos will be a lot, but the steps are very simple. Its assembly (no cutting and no border) may need just half an hour.
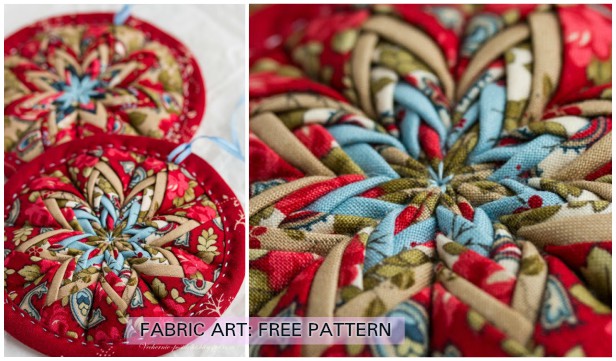
Instructions:
All dimensions are for tree decorations measuring about 10cm in diameter.
1. Cut out 40 rectangles (8 per color, total 5 colors) with sides 5 x 4.5cm. Rolling knife and cutting mat will greatly help in this matter, but it can be cut with scissors too.
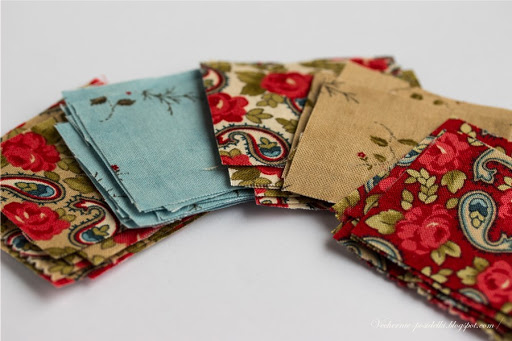
2. Press out the long side of each rectangle on the wrong side with a length of about 1 cm (plus or minus, without any ruler measurements).
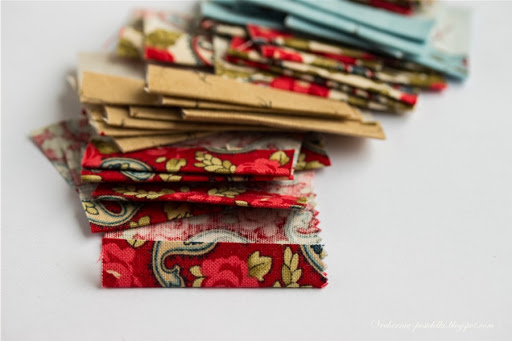
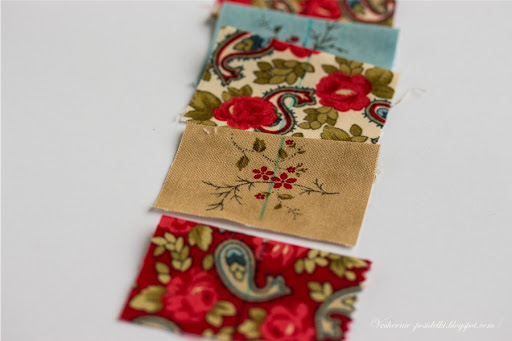
3. Draw a line in the middle of each rectangle. Tip: Stack rectangles in a line and draw will speed up the case.
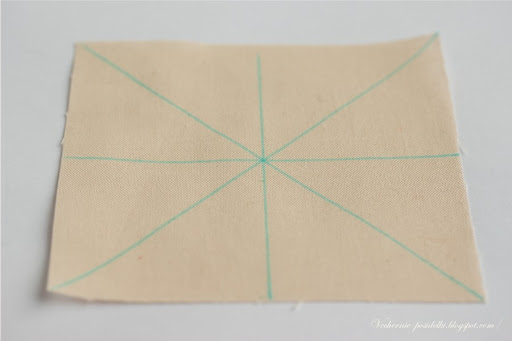
4. Cut a 10cm square of any fabric (it will not be seen in the future). Draw a snowflake on it following.
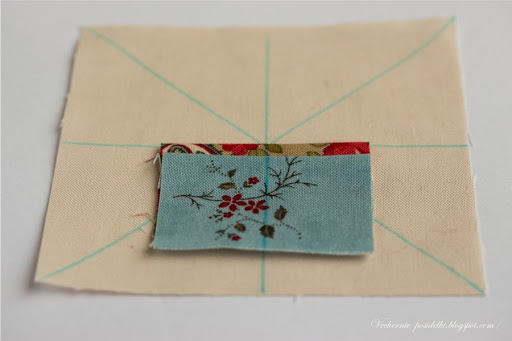
5. Start from the center, lay the first rectangle.
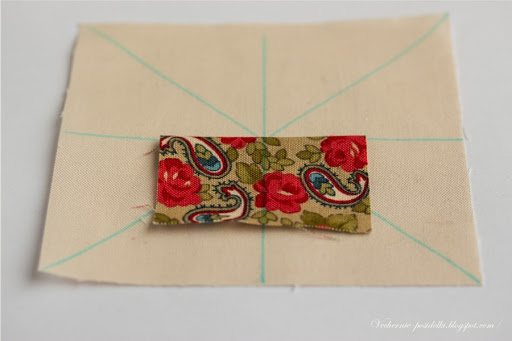
6. Then 2nd rectangle.
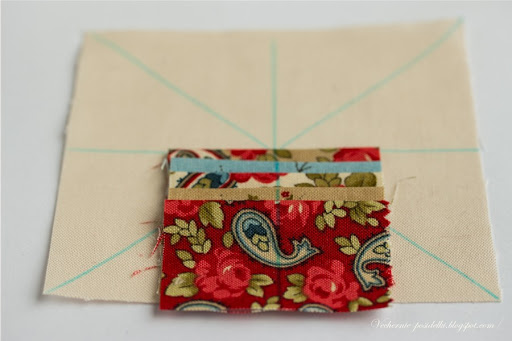
7. Place all five equally in a row.
<!––nextpage––>
8. Stitch them along the middle line to the square frabic tightly. Note: every stitch should lie exactly on the upper edge of each rectangular piece (see photo).
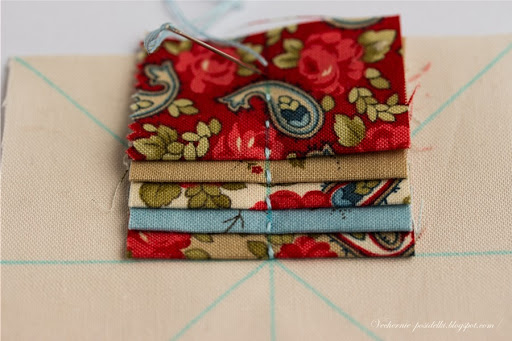
9. Similarly sew the remaining 7 rows. Note: make sure to stitch exactly from the center while sewing the first piece of each row.
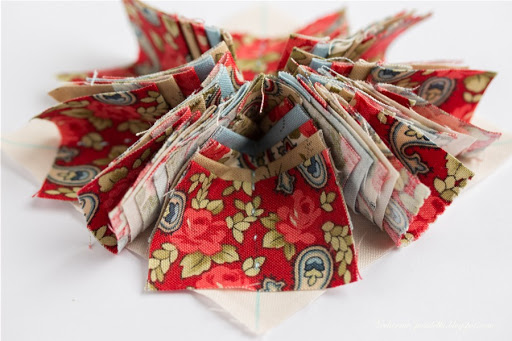
10-13; Now is fun and easy part – placing rays by fingers. Fold 1st right piece in half to make a triangle. Fold up again in half. Repeat for the left part. We just do above for the first tier of each beam. The remaining are easier, just fold in half to make a triangle.
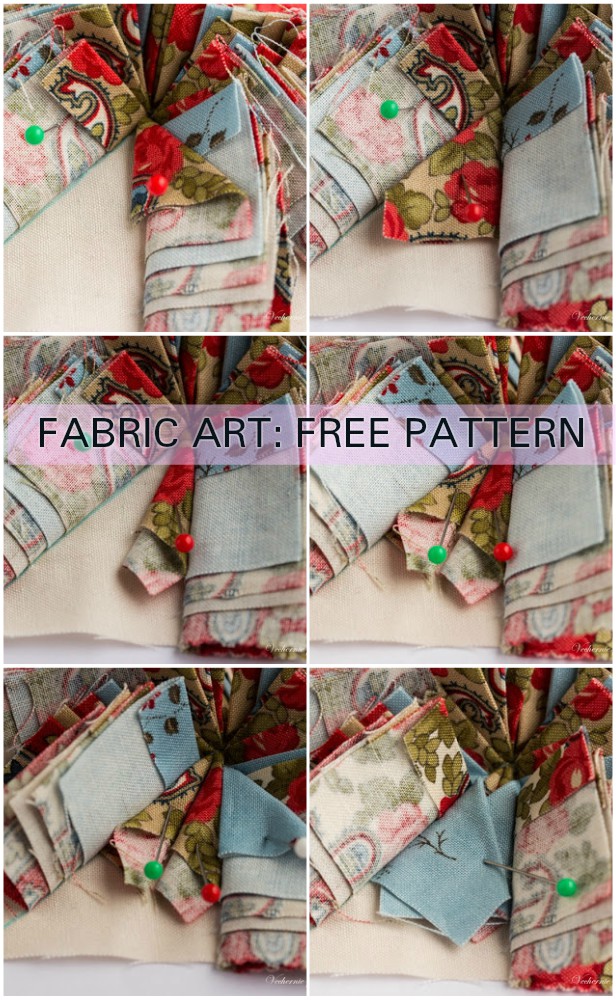
14. Doing same to all the other tiers. Pin the outside tier and the first beam is ready.
<!––nextpage––>
15. Repeat for the rest of the series (rays).
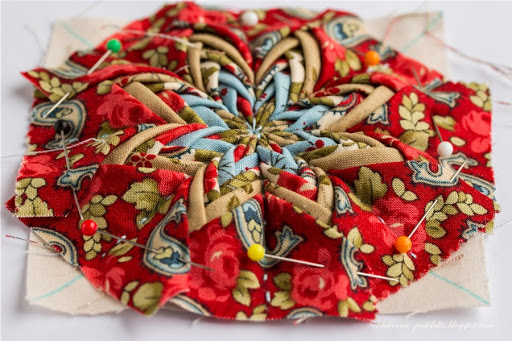
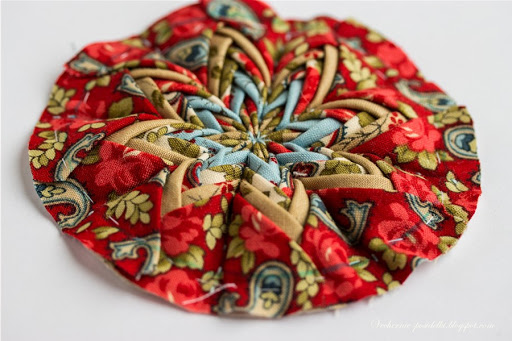
16. Stitch around the final piece. Take out the pin and trim the edge to be circle. Draw a circle within 1 cm from the edge (this markup help us sew exactly).
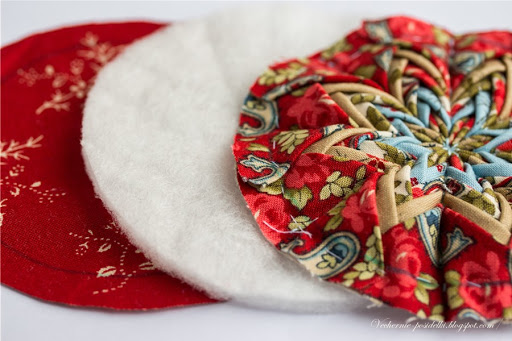
17. Cut a circle of cotton for the back and a circle of batting for the interfacing the same diameter as the front part. Mark the circle with chalk on the back cotton as you do on above piece for sewing inlay.
18. Cut a strip of fabric. Fold in half lengthwise and iron flat. Fold the two sides inward again and iron.

19. Fold the “pie”: stitch the stripe around, make sure that the edge inlay is held exactly by the line drawn at the front and back side.
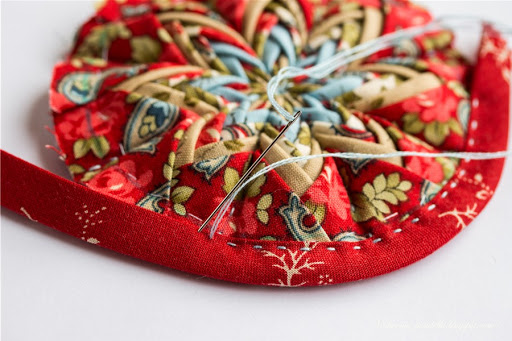
20. Stitch a hanging stripe before close.
![[/nextpage] [nextpage title="Patchwork Flat Star Ornament for Christmas Sew Pattern" ] Patchwork Flat Star Ornament for Christmas DIY Tutorial](https://fabricartdiy.com/wp-content/uploads/2013/12/FabricArtDIY-Flat-Patchwork-Star-Christmas-Ornament-DIY-Tutorial-Pin.jpg)
